I was trying to take a quick picture of a dress I altered and it came out kinda spooky, so I just went with it. Seems fitting to share it with you being that Halloween is right around the corner! I spent last night working on another floral crown that will be a part of my costume. Usually I wait until the last minute to figure out what I want to be, can't come up with anything, and end up being a zombie. This year I decided I didn't really want to be something or someone, but just to dress in a spooky yet romantic way. "Spooky" is one of my favorite words, by the way. It also was the name of one of the 2 black cats I had growing up, and it's also a nickname/term of endearment for me by John.
Oh, right. I was going to tell you about this dress I altered. It's a vintage dress from In The Hammock Vintage, a shop that I've mentioned on here a few times before. You can see how the dress looked before here. I decided that since I'm a shorty, the length of the dress wasn't all that flattering on me, so I hemmed it to a high -low style dress! I think it's a fun look, and adds for a bit of surprise when you turn around. Well, it's Friday night, time to test out my costume! I'll share some pics later this weekend.
Showing posts with label DIY. Show all posts
10.26.2012
10.23.2012
Floral Crown Fun
I had a lot of fun making this floral crown the other night! I mostly followed Bonnie's DIY but also kinda just wrapped flower wire all over the place until it seemed secure. I decided to go with these blue hydrangea silk flowers to bring out my blue eyes. Can't wait to wear this out for a special occasion or even just for everyday. It makes me feel all pretty and girly. I think I'm going to make one with black flowers for a spooky Halloween look!
Labels:
DIY,
floral crown,
flowers,
head piece,
headband
7.31.2012
Pretty Things
I decorated some little jars and bottles (inspired by Hummusbird, duh!) from the recycling bin the other day. Kinda silly but sweet, right? I shared some more photos and the steps over on the MHCM Blog if you are interested!
Labels:
decor,
decorative bottles,
DIY,
lace,
recycled,
yarn wrapped bottle
7.09.2012
Skirt to Beach Bag
Another staple for me this summer has been this crochet top from In The Hammock Vintage. I've been loving it as a cover-up on the beach or with something under + some cut off shorts.
3.03.2012
Wearing Red
Check out my robin's egg blue and seafoam green ring!I gave it a new life by painting it with nail polish! The ring previously had a tacky fake diamond flower shape and I never really wore it. Then I found this post on papernstitch and thought what a great idea! What do you think?
2.17.2012
DIY collar accesory thing!
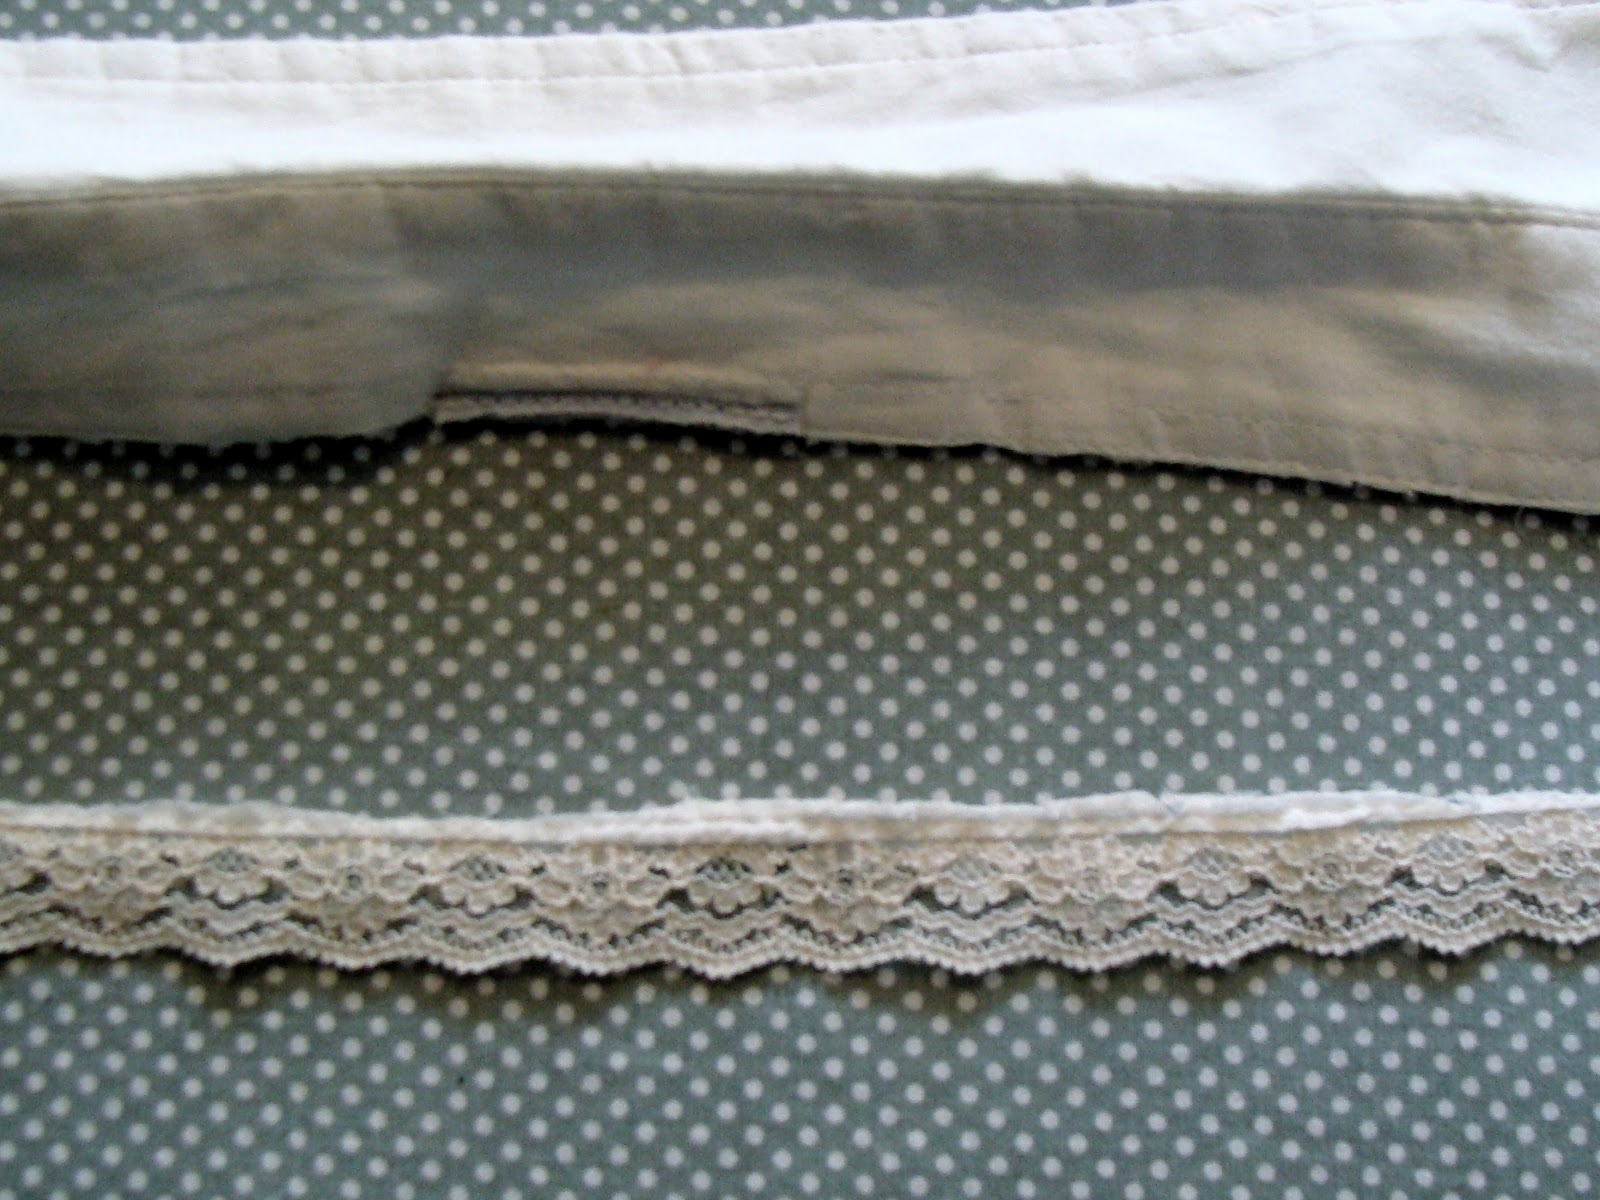
This detachable collar thing was super easy and fun to make! I used a shirt that I've had for a while but is too big on me so I never wear it. I cut the collar off the shirt making sure to cut along the hem so it wouldn't fray. Then I ironed it so it would have a nice crease. The shirt I was using had some pretty lace on it, so I cut the lace off and hot glued it to the collar! Done! The collar could be embellished in a ton of different ways. Sequins, beads, fabric paint, embroidery, buttons.. whatever you please!
1.02.2012
upcycled jewelry box
I'm not exactly
sure if "upcycled" is the right term for this project, but you'll see
what I mean. So, I found this old jewelry box out by the garbage at my
mom's house and decided I could give it another use. A whacky tincture
station for my whacky sister.
I had to keep reminding myself it was going to be a gift for my sister, and not myself, but I ended up painting it colors that I would like anyway.
This project took a bit of time, but mostly because I didn't have a set plan and was making my mind up (and changing it) as I went. The cost was completely free because I had the materials all laying around the house and the jewelry box itself was found in the trash.
Here are the basic steps I took: I Removed all the hardware and then lightly cleaned and sanded the wood.I used a glue gun to line the drawers with chocolate brown felt. With some tape I was able to block off my pattern and then I painted it with acrylic paint. When the whole thing was dry I went over it with a gloss medium to help prevent it from chipping. Then I cut out some birds from my Life of Birds book and glued them in there too. I got rid of the 'stained glass' door and added some pastel and lace fabric. I put back some of the original hardware and that was that.
See, isn't it
whacky?
Labels:
before and after,
design,
DIY,
jewelry box,
Upcycled
11.13.2011
Subscribe to:
Posts (Atom)